In this article, we follow a step by step on how to install and setup WordPress on a local server.
First and foremost, WordPress is entirely built using PHP and it is also database-driven therefore you will definitely require the installation of PHP and MySQL on your computer to install and setup WordPress.
And the required servers must be started, that is Apache and MySQL.

The easiest way to archive this is by installing applications like XAMPP (for Windows, macOS and Linux computers) or WAMP (for windows). Here is How to install XAMPP on Windows 10. XAMPP is a software distribution which provides the Apache web server, MySQL database (actually MariaDB), Php and Perl (as command-line executables and Apache modules) all in one package. Visit www.apachefriends.org for more information about XAMPP.
For this article, I will be using XAMPP for my WordPress project.
Don’t know what WordPress is all about?, here is What is WordPress and why use it?
1 – Download WordPress
Visit WordPress.org and download the latest version of WordPress, click the Get WordPress Button to see the WordPress download page. Refer to the image below.

On the download page, you will find a download button for WordPress with the version of that WordPress zipped file which will be about 13MB.
At the time of writing the WordPress version was 5.3.2, click the download button to download.

After the download is complete, unzip the zipped file. It will contain a folder named WordPress. You can decide to rename it according to the project you are developing. I renamed mine to “project” since am developing a WordPress project.

Copy the folder and paste it in your local server folder.
Am using XAMPP, so I will copy it to the htdocs folder in the XAMPP folder on my computer. If you installed WAMP, paste it in the www folder.
If you can’t find your htdocs folder, open your XAMPP Control panel and click the Explorer button (with a folder icon).

This will open the XAMPP folder on your computer.

2 – Run WordPress Installation
Before running the WordPress installation, make sure the required local XAMPP services are running successfully.
Type localhost/{YourProjectfolderName} in your browser and click enter. In this case “my Project folder name” is “project” so my URL will be localhost/project.

In the screenshot above, since it’s a new WordPress installation, we see a welcome page by WordPress describing all we need to run the installation. This includes a database name, database user name, database password, database host and Table prefix.
Click the let’s go! Button to continue.
3 – Database Creation
As seen in step 2 above, we need to create a database for our WordPress installation to go on smoothly.
Type localhost/phpmyadmin in your browser to see the PHPMyAdmin page where you will create a database with a database name of your choice. I named mine wordpressproject. I know it’s somewhat long but for your case, you can choose a shorter name.
Click create to create your database. The database will be created with no tables for now but no need to worry about this because WordPress will create and populate the tables for us.

4 – WordPress Installation
Now let’s proceed with our WordPress installation. Now that we have a database ready, following step 2, we fill in all the required fields.

- My database name is wordpressproject.
- My database username is root. This is also your default username that’s if you didn’t change it as you were installing XAMPP. You can change it for security purposes. Here is how to change database username for MySQL.
- My password field is empty. This is also your default password that’s if you didn’t change it as you were installing XAMPP. But you should change it too for security purposes.
NB: For now just leave the username as root and the password field empty.
- My database Host is localhost. Leave yours as localhost too.
- My table prefix will be “wp_proj_”. You can leave yours as “wp_” in the meantime.
Click Submit to continue with the installation.
If all the credentials submitted are all right, you should be able to see this;

Click Run the Installation to continue with the installation.
5 – Website Information
The next screen will require us to provide some relevant information for our project.

You have to provide the site title, a Username for your account (this can be your name), a password and an Email.
Make sure to check the Confirm use of weak password if checkbox if you use a weak password or you could just copy the one provided, store it in a secure place you won’t forget.
You can choose to discourage search engines from indexing your website or not.
When all that required is alright, click the Install WordPress to continue.
6 – WordPress Installed Successfully
Finally, WordPress is installed successfully.
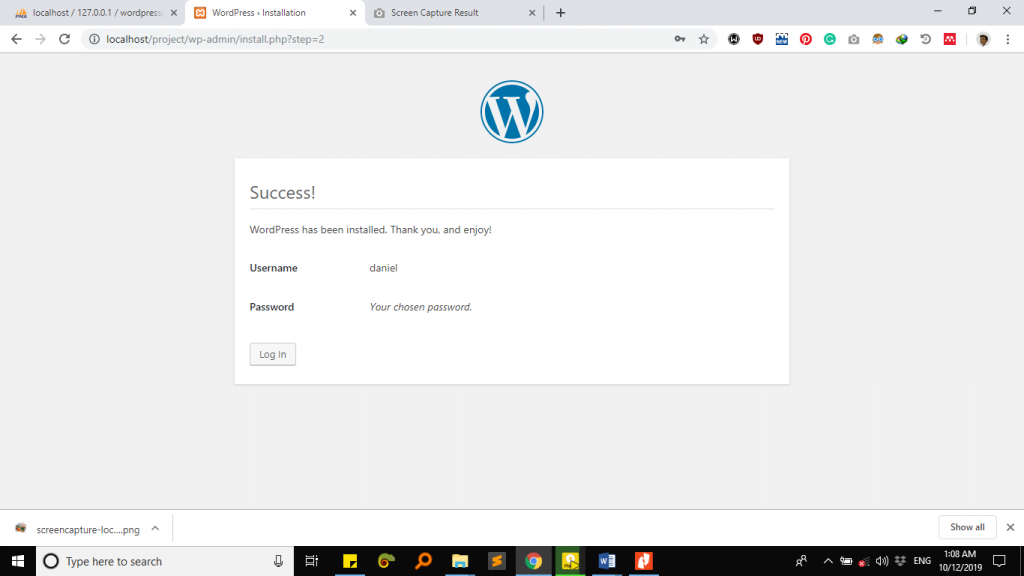
Click log in to continue.
7 – WordPress login
Login into WordPress with the credentials you submitted in step 5 above.

WordPress Installation – Log in
Click the login button to Log in. If credentials are correct, the page will reload to the WordPress dashboard.
8 – WordPress dashboard

The WordPress dashboard will look something like the above screenshot.
In other cases, if you want to go to the WordPress dashboard of your project, type localhost/{yourprojectname}/wp-admin in the browser and click enter. For example localhost/project/wp-admin. This will load the login page for you to log in and access your project dashboard.
In order for you to view your ready to edit project, type localhost/yourprojectname.
This will look something like this;

9 – Database
If you remember very well, when we created the database for this project, we didn’t create any tables for it. But WordPress creates its own tables on installation populates them too. Consider the screenshot below.

We have all our tables created by WordPress with the same table prefix we specified during the installation.
That’s all for WordPress installation and set on localhost, enjoy designing websites using WordPress.